If you’re looking for a way to engage your clients’ eyes and ears during a showing or listing presentation, consider this DIY projector as a video accompaniment to your Chromecast Audio setup as an economical solution. It may not be as luminous as other available options, but the price is considerably better, and the only electronics setup you have to worry about is getting the screen orientation and brightness correct.
What You’ll Need
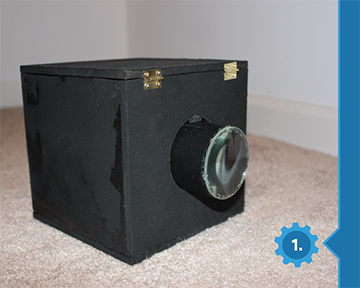
- A smartphone
- A magnifying glass lens about 2 3/8-inch diameter
- Something to hold everything steady. (I chose eight pieces of manufactured wood product [MDF] in the following dimensions: (4) 5 1/2 by 5 1/2 inches, (2) 5 1/2 by 6 inches, (2) 6 by 6 inches.) I also used a few 5 1/2 by 1 1/2 inch pieces to set the phone on and a two-by-four for spacing.
- 2-inch PVC pipe, 3 1/2 inches long
- 2 hinges about 1/2 to 3/4 inches
- Black spray paint and hot glue
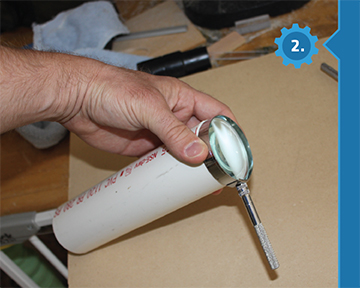
You’ll also need some tools: a band saw, a drill or drill press, and a screwdriver. A hot glue gun will be helpful but not absolutely necessary.
Make the Housing
To determine the distance that your magnifying glass
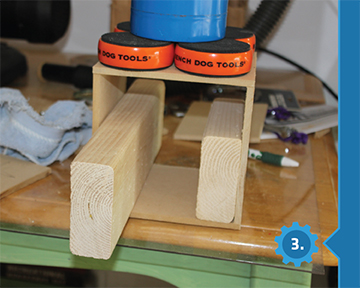
In my case, the distance from the phone to glass was around 6 inches, so I built a box to house my phone and hold the glass at roughly the correct distance. To adjust the focus, I glued the magnifying glass to a piece of PVC pipe that could slide in and out as needed.
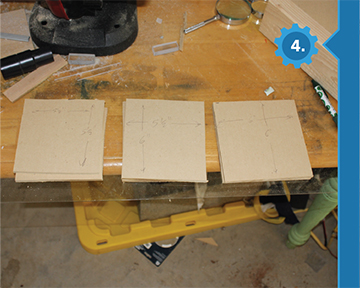
Assemble the box using wood glue, with the drilled 6-by-5 1/2-inch piece attached to a 5 1/2-by-5 1/2-inch piece on either side. Then, attach another 6-by-5 1/2-inch piece to form an open box. Set this assembly on a 6-by-6-inch piece of MDF on the bottom, and clamp or weight as necessary. Let it dry for a few hours.
Fit Parts Together
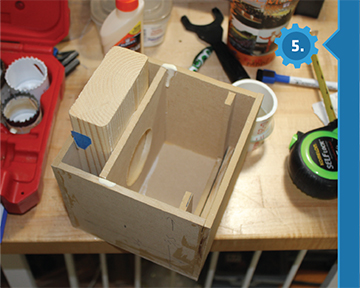
As an alternative, you could start off with a wooden box from a craft store, and add the necessary cuts and internal pieces. This would likely save time, but you’d need to find something quite close to the focal distance that you need.
Add the Lens
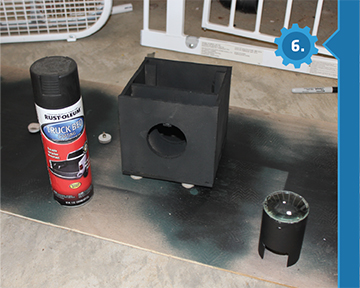
To make sure the PVC pipe stays flat, place a small piece of wood or plastic between the PVC pipe and the hole it goes into to help fill any gap. I used a spare piece of plastic around 1/8 inch thick, but anything wide enough to fill the gap between the PVC pipe and the holes should work. It might not work perfectly the first time, but don’t despair. After gluing it on the first time, I had to remove the spacer and widen the hole slightly in that place with a file. When done, the PVC pipe should slide freely.
Paint and Add Lid
Once everything has dried and you’re satisfied that your projector will work as planned, paint the inside and outside of the box black to help absorb stray light. Additionally, paint the 6-x-6-inch piece that is left over on both sides. I used truck bed liner, mostly because I had it left over from another project, but it does provide a nice plastic feel to the finished product. Still, normal spray paint would be fine.
Once that’s dry, set the 6-by-6-inch piece on top of the box as a lid, with the best-painted side showing. Affix the hinges to the top of the box and the lid about 3/4 inch away from the edges. Place your hinges closest to where the lens will pop out so that the phone can be accessed easily.
Use Your Projector!
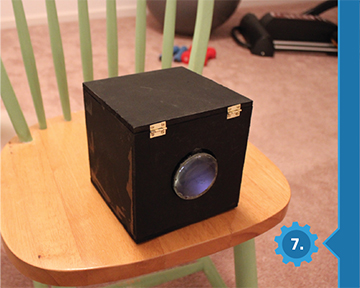
One thing you will notice is that the projected image is upside-down. Be sure to change the settings on your smartphone to ensure your landscape orientation is “locked.” Depending on your device (iOS or Android), you may have to manually rotate any images that you wish to display by 180 degrees. If the display is not as sharp as you’d like, try making the room a bit darker.


